Sourdough Starter & Tools
I am an Amazon Affiliate and will earn a small commission on anything purchased from the links on the post below, at no additional cost to you.
Starter Care, Maintenance, & Tools
A sourdough starter is a living organism. Like any living organism, it needs to be fed, it likes warmer temperatures, and each starter may behave differently as yeasts in the air, flour, your hands may change its makeup. It is important that you listen to your starter’s signs. AND what works for one person, may not work for another. There are just too many variables. This is why you see a person make a fabulous loaf the first try, and others go through dozens of loaves before they get a a fabulous loaf.
Sourdough Information
-
- Visit the encyclopedia section of; http://www.thesourdoughjourney.com
There is a wealth of detailed step by step instructions, flyers, how to’s and information in an easy to read FAQ type format.
-
- Another informative resource is on You Tube. Look for Culinary Explorations. I’ve adapted his methods into my routine. And his website has access to an excel calculator he created to adapt recipes; lower/higher hydration, larger loaves, etc.
-
- Know that everyone has their own and sometimes militant ideas on what works best in sourdough. What many don’t understand is that there are so many variables that there is no ONE WAY to do things. Do what works for your dough/bread. Experiment one thing at a time and find what A) you like doing and B) works.
For instance, I use a low hydration recipe, it is easier dough to work with and has a more closed crumb (less holes). Many prefer an open crumb (lots of holes) that comes with a higher hydration recipe but the dough is SUPER sticky and harder to work with. Definitely not recommended for someone new to sourdough but you can work to towards it.
-
- There is also alot of good information on social media; from sourdough groups on Facebook and Reddit to TikTok.
When to Feed your Starter
It is important that you create a routine that you will stick with. You have two options to choose from as far as how you feed your starter. I prefer to feed my starter right before going to bed.
Counter:
You can feed your starter DAILY and leave on the counter. Discard each day and feed again at the same time the next day. It is a good idea to try to feed around the same time each day.
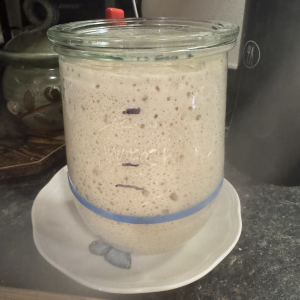
This starter should have a loose lid allowing gasses to escape but protecting from the air.
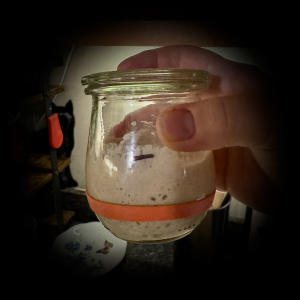
The weck jars have glass lids that rest on top and are the perfect solution.
Fridge:
OR you can feed the starter and put in the fridge (which impedes the yeast growth production) until you are ready to use it. It can stay in the fridge for weeks even. Be sure to take it out a few days prior to your mixing day and feed it on the counter for a couple days to re-establish its activity. This starter should have a tight lid while in the fridge.
Starter Size
-
- I keep a tiny starter (5-7g) and discard/feed it at night before bed. When I want to bake, I create a separate “levain” the night prior to desired mixing day, which I feed in a larger jar using a high ratio, while still keeping my tiny “mother” starter.
- I created a calculator on my moms life tips site that will allow you to enter in your feeding time, when you want your starter ready and how much starter you need for your recipe and it will tell you what to feed your starter.
- I keep all and any starters on a small plate just in case (they can grow more than anticipated).
- Doing a tiny starter will help you reduce waste and it takes 5 minutes to feed.
- I keep a tiny starter (5-7g) and discard/feed it at night before bed. When I want to bake, I create a separate “levain” the night prior to desired mixing day, which I feed in a larger jar using a high ratio, while still keeping my tiny “mother” starter.
How to Feed your Starter
Choose your feeding ratio (starter vs flour vs water).
The ratio you choose determines how long it takes to get to peak and how much starter you will end up with. Most new starters begin with a 1:1:1 ratio. That is; 1 part starter: 1 part flour: 1 part water. This will rise fairly fast depending on a few variables but usually 4-6 hours. Since this starter is established, you can use a higher ratio.
Instructions
-
-
- Stir starter well (to mix yeast)
- Discard (remove) down to desired starting grams; 5-7g if keeping a small starter.
-
-
- Keep your discard in a jar in the fridge. This can be used for recipes such as pancakes, crackers, etc.
-
-
- Add your flour and water, stir REALLY well ensuring there are no dry bits.
- Use a spatula to remove starter from the sides.
- Take a wet paper towel and wipe off the rim, then dry it. Mold can develop here as the yeast can not reach here to control it.
-
I use a 1:5:5 (1 part starter: 5 parts flour: 5 parts water) and feed at night before bed so that it is peaked and ready to mix in the morning, should I choose to. I often do not measure the water and do a little less than the ratio, making sure the starter is thick almost like oatmeal.
Getting Ready to Bake
When I plan to bake, I create a levain in a separate, larger jar as well as feeding my mother starter directly.
Using a separate jar allows me to keep my mother starter in a small jar at all times and only use a larger jar when building what I need to bake.
I use my starter feeding calculator to determine exactly how much to feed so I end up with the amount of starter needed for baking
Starter Tips
- Keep your starter small.
Why: A tiny starter is easier to manage, wastes less flour, and can always be built up when needed. - Feed at night if you like morning baking.
Why: Night feeds allow your starter to peak by morning, simplifying your schedule. - Always wipe the rim of starter and discard jars.
Why: Healthy starter bacteria control mold inside the jar, but they cannot reach dried bits left on the rim. I rip a paper towel in half, wipe the rim with the wet half, then dry it with the other half. - Use a separate jar for levain builds.
Why: This protects your mother starter and allows flexible scaling without risk. And allows you the flexibility to maintain a small starter (less waste). - Place your starter on a small plate, tray or other catch surface.
Why: Starters can and will grow more than expected and can bubble over. To avoid
messes, I always place starter jars on a tray, plate, or catch surface.
Quick Starter Summary
- Start with 5–7 g seed starter
- Keep the mother starter small
- Build levain separately when baking
- Feed at night for flexibility
- Always use a tray or plate under jars
- Clean jar rims every feeding
Discard
Once a starter is active and established (this does not include brand newly created starters from scratch) you can save the discard and use it to make many recipes. Discard can be kept in the fridge with lids screwed on tightly. When you remove this jar from the fridge, be careful as this active starter, even while not fed, will bubble over.
I use discard to make tortillas, crackers, pancakes, muffins, egg frittata muffins, pizza bites. The longer it sits in the fridge, the more sour it becomes. I typically like to use my discard within 2 weeks at most.
Sourdough Tools That Are Actually Useful!
STARTER TOOLS
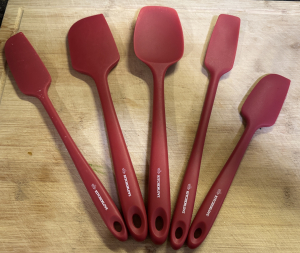
Silicone spatulas
I have had these for years; are fabulous for scraping batter from bowls and I LOVE them for mixing and cleaning starter jar sides.
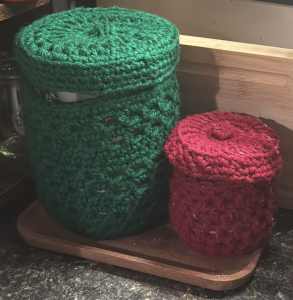
Weck jars (large for levain builds)
These jars are easily my favorites for my starter. They come with a perfect glass lid that works best for counter starters.
Weck jars (small for mother starter)
A tiny version of the bigger Weck Tulip jar, used to maintain my tiny mother starter.
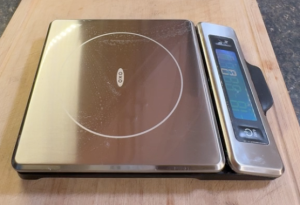
Digital scale (11lb)
I upgraded to this scale after getting frustrated with the ektocity scale zeroing out constantly. I really liked this scale until I started baking THREE extra large loaves – it couldn’t handle the weight. I still use it OFTEN but when making larger volumes, use the 2nd scale as it handles triple the weight.
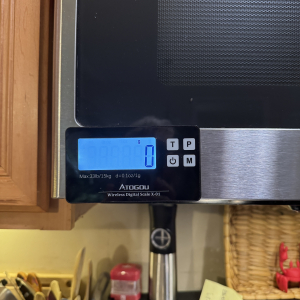
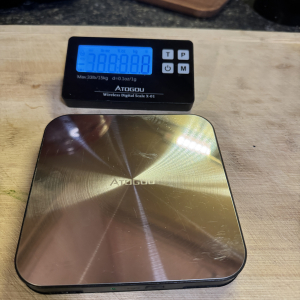
Digital scale (33lb)
I love the two separate pieces! They connect to each other via bluetooth. It makes it easy to place the scale and the reader where it is convenient. AND it weights alot. The battery did run out after a bit so we’ll see how it goes.
Sharpie (to mark feed times, levels and bowl weights)
Plate or tray under starter jars
I use these beautiful trays for a myriad of other things; they house my counter oils and my Bodum Grinder.
Mason Jars (discard)
I allow myself 2 discard jars and then these jars get used for everything else; refrigerator pickles, washed blueberries, soup leftovers, breadcrumbs, and more, etc.


Mason Jar lids (plastic)
The canning lids on the mason jars get rusty. I buy these to avoid that entirely.
Mixing & Dough Handling
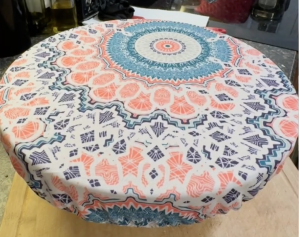
Bowl Covers
These bowl covers come in many colors/patterns and fit perfectly on almost every size bowl.
Dough Whisk#1
This was the first dough whisk I bought and it really does make mixing dough easier.
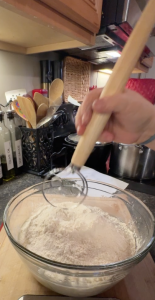
Dough Whisk#2
My new favorite dough whisk. Its easier to clean and I’m not worried about the wood handle eventually falling off.
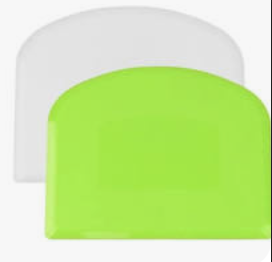
Bowl scraper
I have a couple of these. They make getting the dough out of the bowl easier as they are plastic and bendable
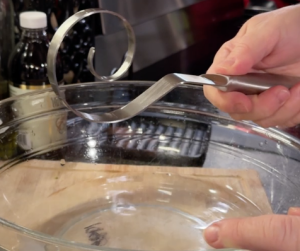
Bench scraper
I use this to cut my dough into sections and can be used to push me/pull you’s if your dough is sticky.

Pastry mat
If you have a small kitchen or don’t have good counters, this makes a nice place to work on our dough. I place mine usually over my electric stove. Cleanup is easier than having to clean the counter too.

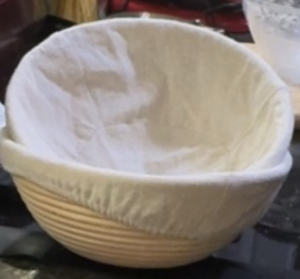
Banneton(s)-round
I use these for making round artisan loaves.
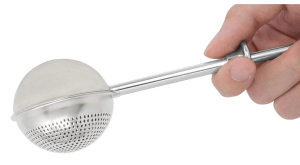
Flour duster
Easily the most fun item to use. It can also be used for powdered sugar.
Rice flour (for bannetons only)
I use this only for artisan loaves in the banneton and on top of the dough ball so the bowl cover does not stick.

Loaf Pan-Large 10×5
I like to make extra large loaves that fit in a 10×5 loaf pan. The USA pans are my favorite offering balance heat distribution as well as a silicon non stick surface.

Baking
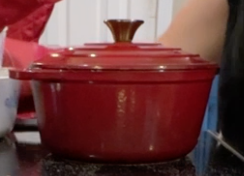
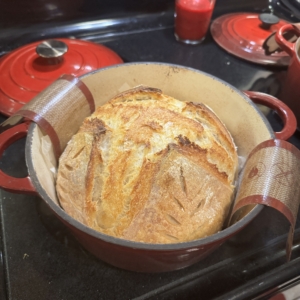
Dutch oven
The best place to bake your artisan loaf!
Bread dome
I use this less as you will want to make sure you have ALOT of oven spring as the dough will spread more in the wide bottom, unlike the dutch oven.

Bread sling-round
I use a square of parchment AND the bread sling. I love that this one is long enough to hang over and limits your exposure to the hot dutch oven.
Bread sling-loaf pan
Lame
I’ve tried several lames but settled on this one for ease of use and changing the blade.

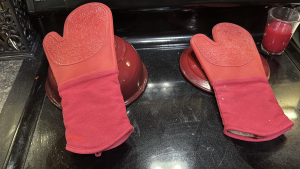
Oven mitts
Extra big mitts are a must when dealing with 450 degree ovens and burning hot dutch ovens. I feel safe in these and they’ve saved me several times since purchasing them in 2025. I put them on the HOT lids so I don’t forget they are hot and move them with my hands (which would indeed happen).
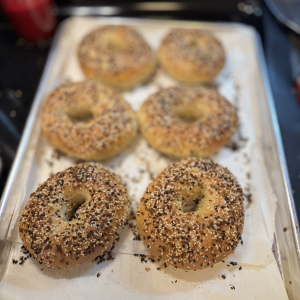
Cooling rack (tray and rack set)
Get the sheet pan and the rack! Use the sheet pan for baking EVERYTHING including french bread, bagels and general roasting. I use the rack for cooling my breads (with parchment under it to catch crumbs).

Thermometer
I purchased the cheapie thermometers for awhile. I recommend keeping a back up because they do not last. AND btw, the waterproof ones are NOT waterproof. ANYHOW, I got this expensive instant read one for Christmas and so far so I love it. PS…try the brand website to compare prices.
Storing & Enjoying
Bread knives
I tried the bread hacksaw but the blade is crap. THIS knife is AMAZING and can be sharpened. It slices through sourdough like butter, even freshly baked bread, which is so difficult to cut.
Bread bags-storage
These are great to store bread.

Bread bags-plastic
I use these for my sandwich bread that I’m giving away OR slicing/freezing.
Crumb catcher
We’ve always had a crumb catcher by the toaster oven. Sometimes two of them. The darker one didn’t hold up too well to cutting on so that one is not linked.

Silicone Liner (under crumb catcher)
This is a great hack for keeping your cutting boards from
sliding. I put this under the crumb catcher as well

Bread Box
I keep a current loaf for eating in this and its great. You can see what you have. It has a reach in window and ability to easily take off the tope and control moisture.

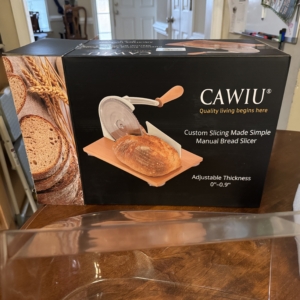
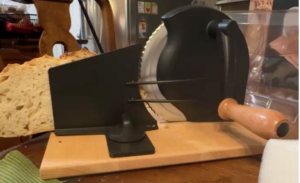
Hand Crank Slicer
I LOVE this thing. It makes slicing an entire loaf SO MUCH easier. The suction cups could be better but I would buy this again and again. Months later, the suction cups literally went flat. I just bought some spares on Amazon for $8 so I’ll keep you posted. I still love this slicer for slicing an entire loaf to freeze or give away. Otherwise, I use the awesomely sharp bread knife noted.